Showing posts with label burp cloths. Show all posts

Thursday, September 19, 2013

Baby Shower Gift - Elephants

So I started working at a new job (which I must tell you all about at another time) and within a week was invited to a surprise baby shower for a co-worker.  I hadn't met her at the time, but knew that I would rather make something than buy something.  The mom-to-be for a second time, knew she was having a girl but was worried about the possibility of the tech being wrong on the gender.  So I planned to make a gender neutral gift. you know, just in case.

While I was in JoAnn's searching for Janet's gift for her bridal shower (yup gotta post about that one too) I saw this absolutely adorable fabric that I immediately knew I had to use for my co-workers gifts.

It was different colored lions.

I was in love.  I didn't buy it initially because I was on a time crunch to get Janet's stuff done and could not afford the distraction of cutie little lions.

So Jon and I made a trip to JoAnn's a week later to buy the baby shower fabrics.  And while I was intent on using the lions, Jon found the same fabric but with elephants!  They were super cute too!  Then the shelf the lion fabric rested on was broken and we ended up finding another fabric with monkeys!!!  Decision.   Overload.

After much deliberating the monkeys were out because their size would not work well with my "vision" of the end result.  The lions would have been perfect for my "vision" but Jon convinced me they weren't girl friendly enough to be a gender neutral fabric.

I got home and got straight to work on my plan.

I wanted the elephants to be outlined in embroidery of the same color.  A little texture and some fanciness at the same time.  With that done I went ahead and backed it with light green minky fabric.

Turned the whole thing into a taggy blanket and part 1 of 3 was done!

And it was late and I got lazy so rather than hand sewing the opening closed, I machine sewed it.  I have to say you can hardly even tell I did that!  I may end up getting lazy more often...

The last two parts I wanted to make were the ribbon outlined burp clothes I usually make.  I had found ribbon that matched the colors of the elephant fabric perfectly.  (Sorry no close up).

I have to also comment that the back of the burp clothes were perfect.  No random colored blob of "oh crap the sewing machine went stupid and I didn't realize it until I was done" thread!

I was very pleased with how well they looked together.  The mom-to-be was actually surprised by the baby shower and mentioned having never received a hand made gift like mine before.

All in all, a success.

I have several more posts planned (Julie I am going to get it together!) and hope to get them up soon.

Tuesday, July 24, 2012

Manly Burp Cloths

This past weekend I was "hired" by my mom to make some cutesy burp cloths.  I had done this for her you will remember just a little while ago.  But this time they were for a baby boy.  So the pinks wouldn't work.

I made a trip to JoAnn's for all of the supplies.  I was surprised that there was only one non-blue burp cloth in the pack.  It made it a little difficult trying to pick out some ribbon.


After that was over I spent a while pinning.  I was happily pinning up the second burp cloth when I realized something horrible.  I did not have enough ribbon.  By like 6 inches!

Obviously I freaked out.  It was far too late to be able to head out to JoAnn's and get more ribbons (yes I didn't have enough of either one!) and I wanted to have them pinned and ready for sewing the next day.


Jon tried his best to help me find a solution as I was frantically searching through all of my sewing stuff.  I knew that I had ribbons somewhere in there that were blue and green.

I did find some blue and green ribbons... just not the ones I was thinking of.

Jon convinced me they would work and I have to say he was right.

The next day my parents were in town to help Staci move.  I had decided to help them and I would sew the burp cloths there.

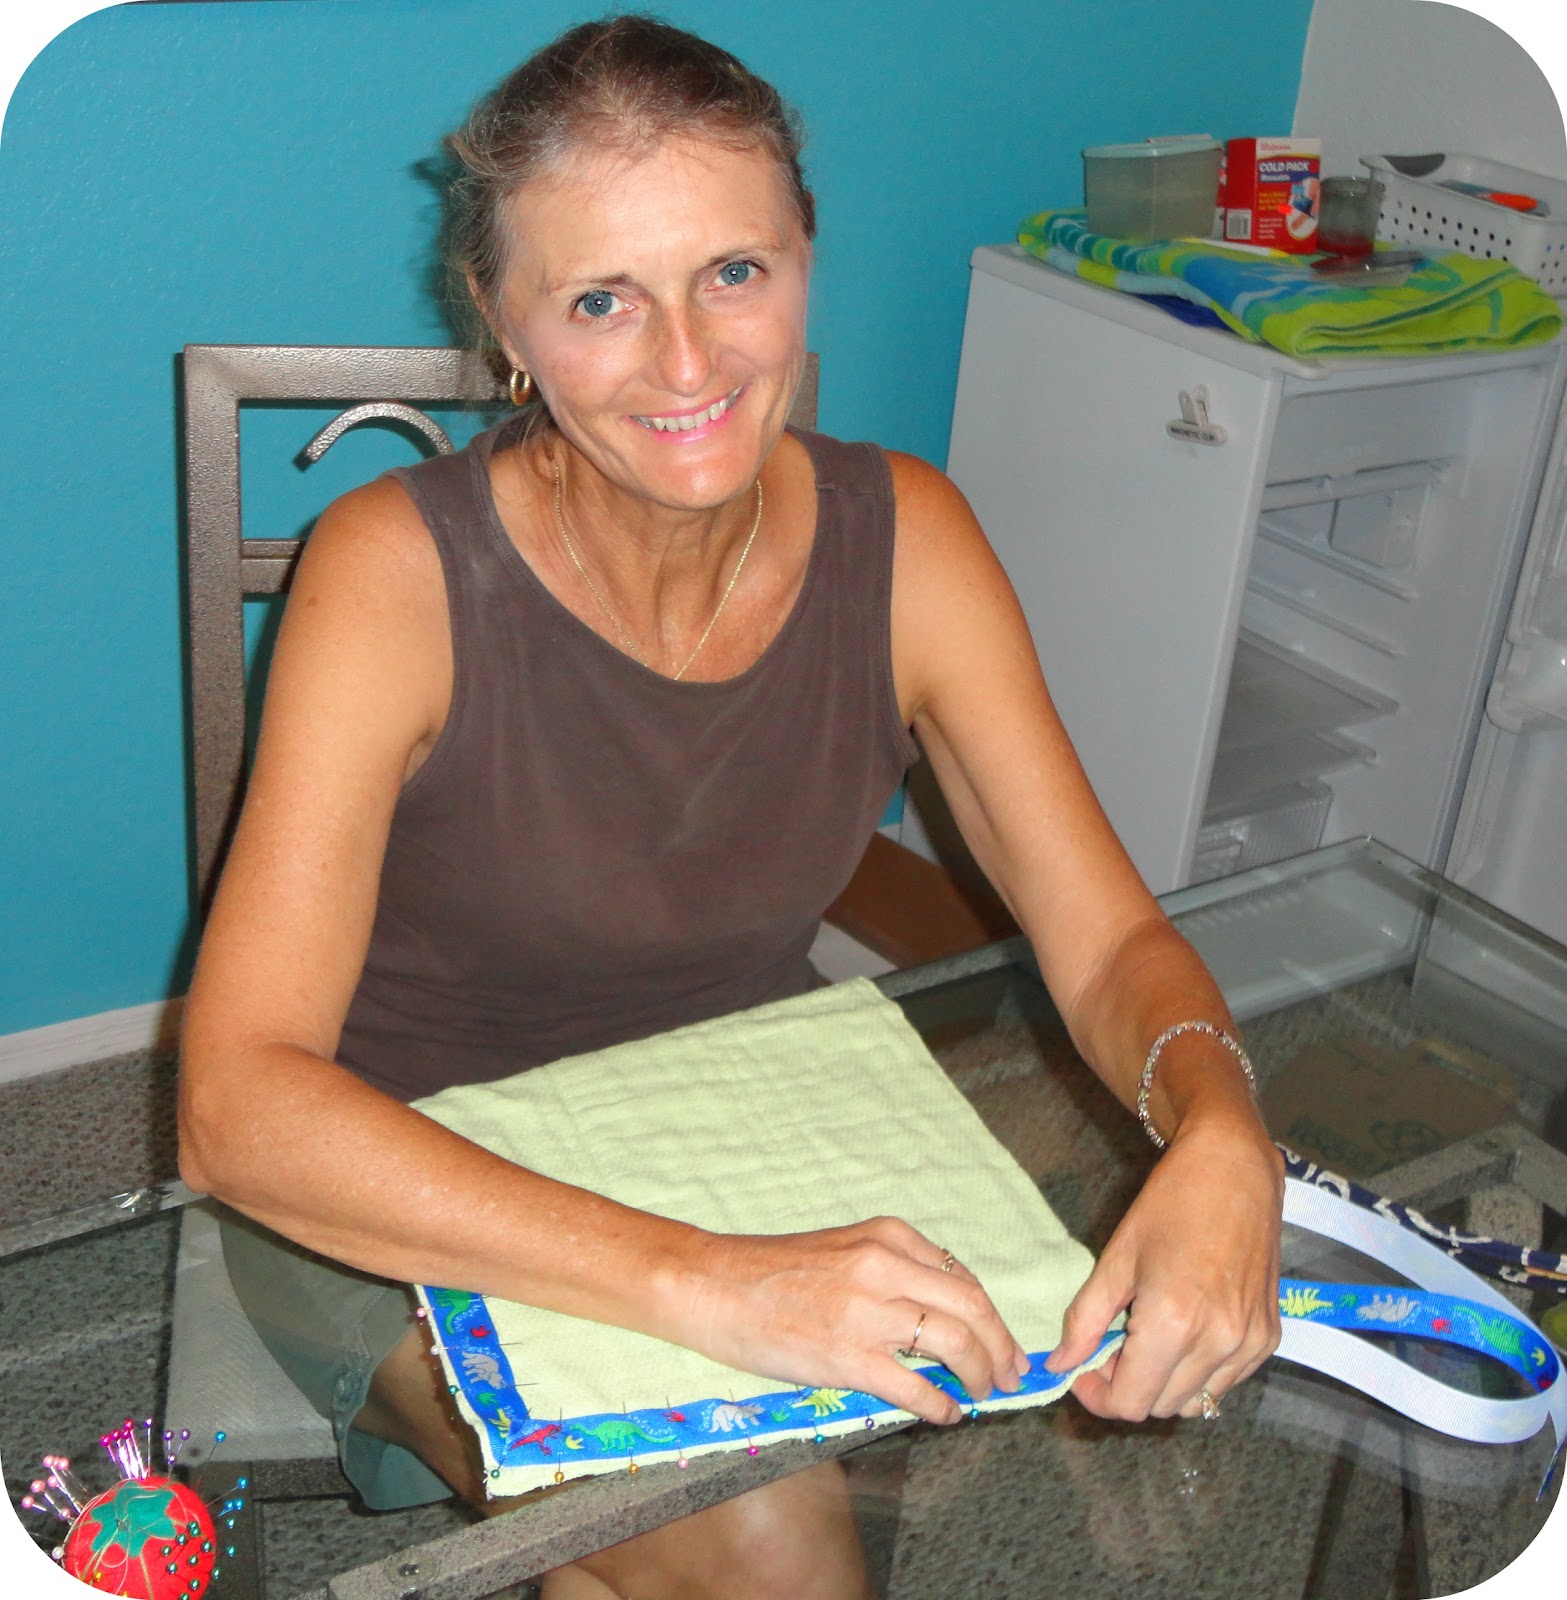
I even managed to have my mom help  me.  Can't you tell that she really didn't want her picture taken?

She super pinned one of them for me so that I was all ready to sew once we got Staci over to the  new place.

I finally was able to sew them at like 9pm - when I met them at 5:15pm!

I was initially worried about the red being overpowering but I ended up really liking it.

So lesson learned:  Being able to use leftover stuff validates keeping it all.

Tuesday, May 22, 2012

Burp Cloths: In color!

I mentioned that I made several things for my mom two weekends ago.  I will share the second set of things I made.

Along with the taggie blanket she wanted burp cloths too.  I was going to pick up a pack of the plain ones so that any ribbon could be used.  Instead she wanted the colorful pack.  We went and picked out cutie ribbons to match the two pinks, green, and purple cloths.

This is what I ended up with.
This is the light pink cloth
This is one of the ribbons we chose.

First one all pinned up


We chose the purple ribbon with flowers for the green and purple cloths
Purple all pinned
All of them together!!
Just like I said last week.  It was really nice to sew again.  My mom said she liked the burp cloths with the ribbon rather than the ric rac I had used before.  I must say the ribbon was much easier to pin and sew.  Especially the corners!

I hope you enjoyed!!

Tuesday, March 27, 2012

Long over due Burp Cloth reveal

First off I have to say that I got mail today.  As in a super special surprise mail that isn't even really for me!!  I am so excited!!  It is killing me that I can't share it with you yet...  someone special has to see it first.

Secondly, I have had this project done for what feels like AGES.  I just have seemed to find other things that I wanted to blog about more.  So now for the long awaited reveal of my cutesy baby burp cloth!!!

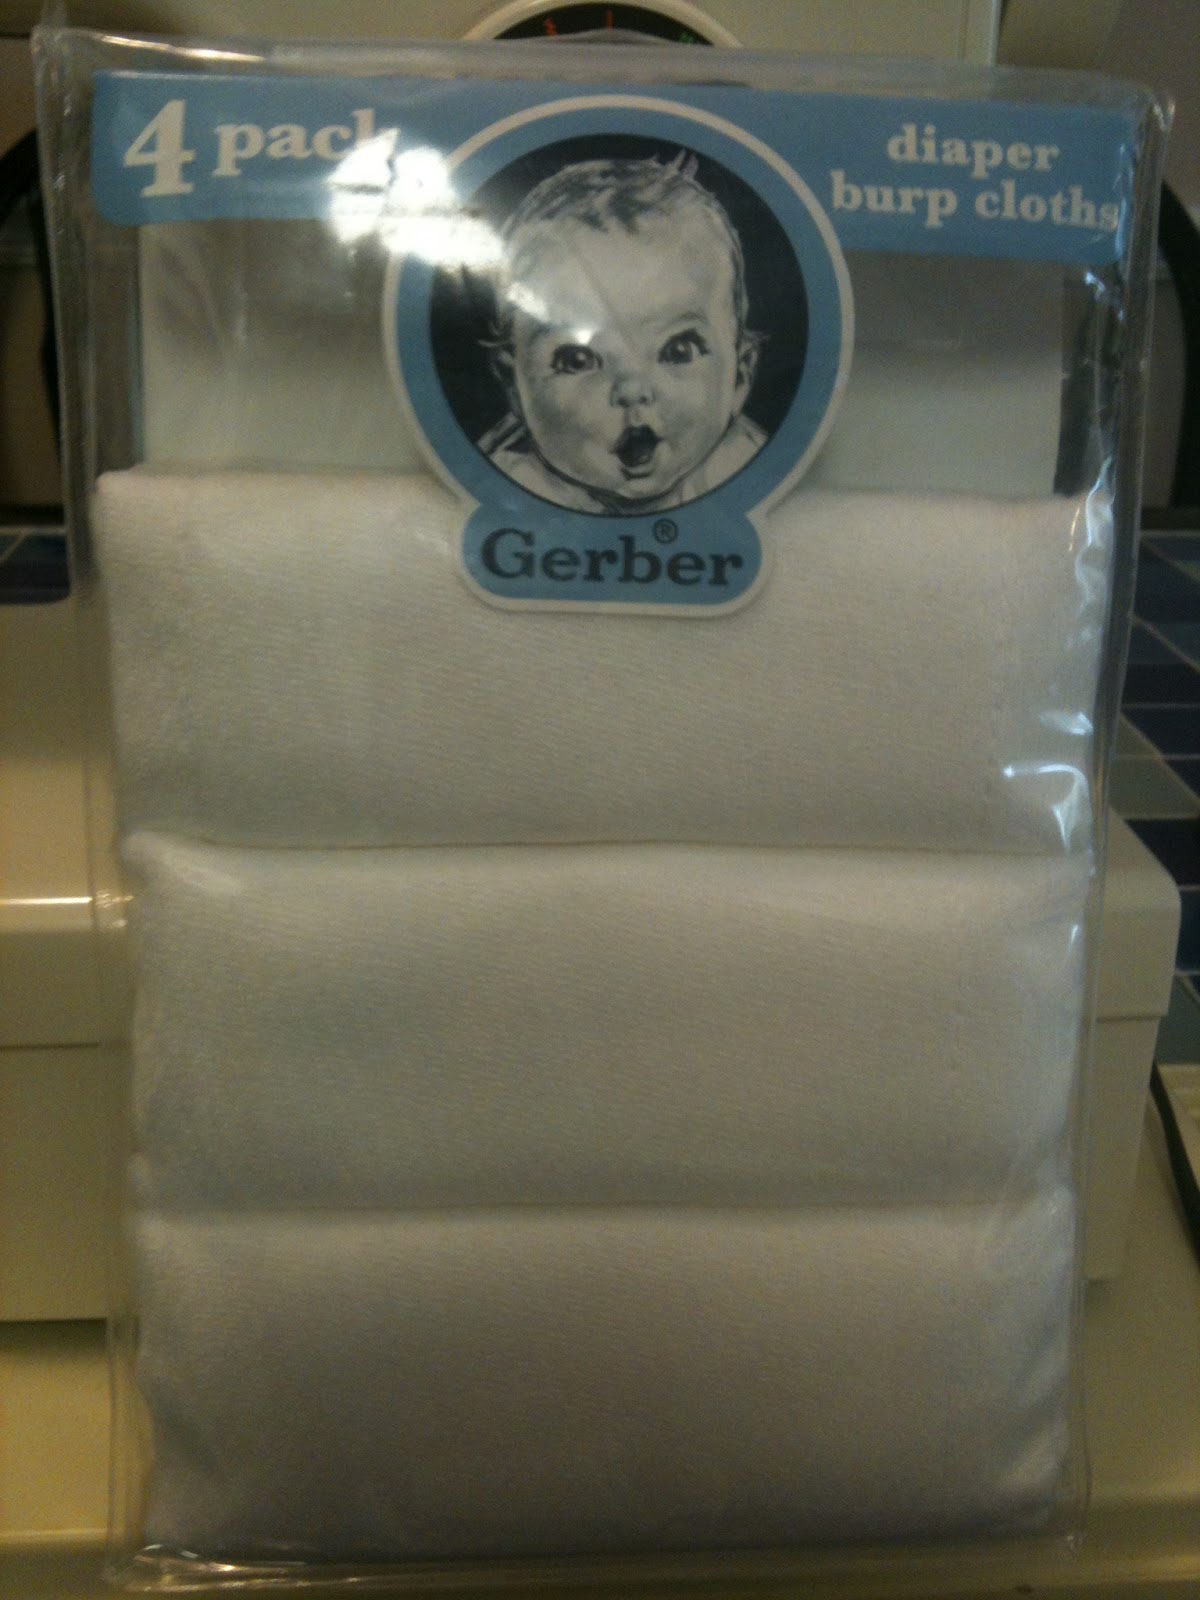
Now you may be thinking, "hey she already did a burp cloth that she showed us already".  Yes, you are correct.  I did share one set of burp cloths I made here.  But the pack of burp cloths I had came with four and I had run out of rick rack so I decided to use some of the ribbon that I bought from the most lovely website Pick Your Plum.

I know, I have made you wait long enough. :)  Soooo onto the picture parade!

I had one left over from this pack.


I had already washed and pressed the cloth so that it was nice a flat again (they sure do get wrinkly after being washed).  I placed the cloth on the table and practiced with the ribbon to see how far around it would make it.
I didn't make it all the way around before I had to take a picture
I began pinning at the top.  I made sure to have some of the ribbon fold over the edge to decorate the back a little (making sure I had a nice clean edge).


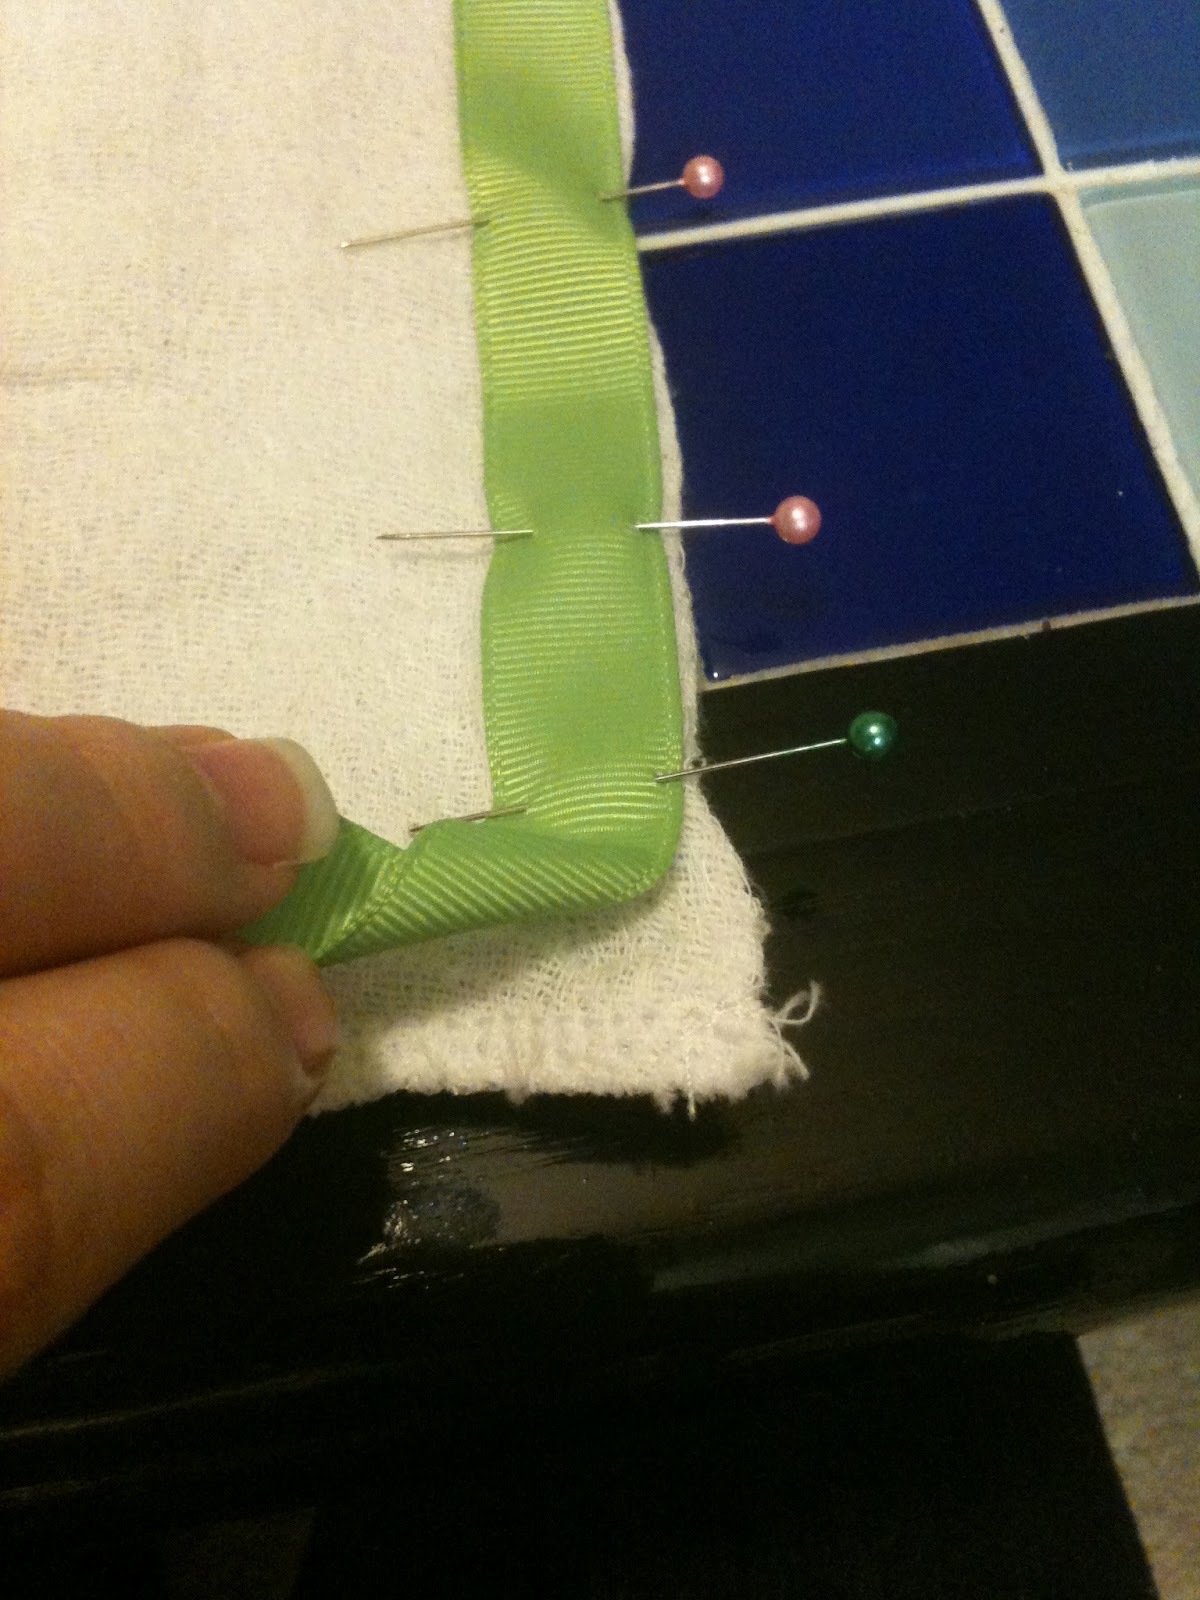
The I pinned all of the way until I arrived at a corner.  I finally decided I wanted to make the corner look a little different so I did this:


See how my finger is poking under the ribbon.  That is my highly scientific way of showing how the fold was.

Then I finished pinning the rest of the way (I made it through the second corner and didn't have enough for the other two corners).  Enter the blue ribbon!!


I pinned it all of the way around and did the corners in the same way.


I sewed the bad boy up with two seams of white thread.  I was even very impressed with the straightness of the seams too!!

Here is what I did on the back.  On the opposite corner the blue was overlapping the green.  I think it gives it a little surprise so that back isn't so boring.

Ta-da!  All done!

AND I even have some extra photoy goodness today!  So I had the ribbon out and it was hanging over the end of the table and guess who decided to play with it...


Yes, it was the kitten.  I love her.  I will have to show you later what she does whenever the bf and I are at the table.  Just killer cuteness... and possibly a little annoying.

Tuesday, March 6, 2012

Burp Cloth Tutorial

During the time my Aunt and Uncle were visiting my parents they all made a special trip up to Orlando to see my sister, the bf, and I.  My parents got a room at the Hilton Vacation Club Sea World Resort.  It was beautiful and reminded me a lot of the room the bf, Jill, and I shared in Vegas.

My Aunt is of the "Senior" age and offered to buy me some craft supplies from JoAnn's on their Senior discount day.  I asked for whatever she was willing to buy, knowing that she shouldn't buy too much for me.  Well she went all out!  She bought onesies, burp cloths, and doggie fabric.  I am not sure what to use the doggie fabric for yet, but I'm sure I will find something.

Last week when I stayed home from work on Friday I washed all of the onesies and burp cloths so that they would be nice and clean before I started sewing things on them.  I ironed the burp cloths flat since they got bumpy.

I got a little overwhelmed with the amount of onesies I had so I decided to start with the burp cloths, you know because I only had 4 of those vs. 14 onesies!

For the embellishment, I was going to use rick rack.  This was my first time using it and I was kind of afraid of it.  Can you blame me??  It is wavy! and my machine doesn't sew wavy...

I had picked out the colors because I was hoping to maybe sell them or give them as a gift.

I have a terrible picture of how I sealed off the edges of the rick rack...

First I cut off the sticky remains from the rick rack being taped to itself inside the packaging.  That way I had a nice straight cut.
 Then I used a lighter to barely melt the edge so that it sealed the ends and would not allow it to fray.

What I ended up with was this.... yea even between the two pictures you can't really tell the edge is sealed.  But I promise it is!!!

 then I placed the rick rack at the edge of the burp cloth and pinned all of the way around.

I know I switched from blue to orange but I was making them at the same time and wasn't paying attention to which ones I was photoing.  Anyway, when I got to the first corner I was not sure how I wanted it to look so I experimented a few different ways until I found the one I was happy with.

I made sure to pin all of the way through both layers so that when I sewed it the rick rack would stay where I wanted it to be.

When sewing it on I decided to sew one straight line down the middle of the rick rack.  I used thread that matched the color of the rick rack and a white bobbin so the back would look clean.

Fast forward to the final photos!

I had enough rick rack to make one of each color.

 And one combining the two!!

I am extremely proud of my work on this.  I was worried that the areas where the rick rack was layered four times would freak my machine out.  I slowed down at these areas and made sure to secure it by back-stitching each.  I was sad that I ran out of rick rack (I literally used all that I had) because I had one more burp cloth left.  But don't worry I found a way to dress that one up too... you will just have to wait to see it.  :)

Loving the look of rick rack,